

The best outdoor kitchen layout is the one that matches your patio’s size, how you entertain and how many people cook at once. A straight run suits a narrow patio. An L-shape gives a cook a compact work area. A U-shape or island suits a large, open space where guests move all the way around. Below we compare each shape, explain how to zone the space, and cover the clearance and permit questions that decide whether a plan can be built.
TL;DR
- Straight runs fit small or narrow patios. L-shapes suit most medium patios. U-shapes, galleys and islands need more room and more planning.
- Zone the space around the cook: grill, prep, cold storage, sink and serving, with seating that stays out of the cooking path.
- Check your grill’s manual for clearances to combustible materials before you fix the layout, and ask your city whether the project needs a permit.
- Utilities (gas, power, water, drainage) and shade often decide the final shape more than looks do.
- A layout drawn to scale on the real slab, with the footprint marked on the ground, catches most mistakes early.
Table of Contents
- The five layouts homeowners choose most
- Choosing by space, not by photos
- Arranging the zones inside any layout
- Clearances, fire safety and ventilation
- Utilities and weather decide more than looks
- Permits and local rules
- Layout mistakes we see most often
- Our perspective
- Plan your layout with us
- FAQ
- Sources
The five layouts homeowners choose most
Most outdoor kitchens are a version of five plans. Each solves a different problem, so start with the problem you have rather than the picture you like.
| Layout | Best for | Watch out for |
|---|---|---|
| Straight (linear) | Small or narrow patios, a wall of the house | Limited counter space between appliances |
| L-shaped | Medium patios, a corner of the space | The inside corner can become dead storage |
| U-shaped | Large patios, serious cooking, two cooks | Takes a lot of floor area and utility runs |
| Galley | Covered porches, pool houses, spaces with columns | Walkway between runs must stay clear |
| Island | Large open yards, social hosts | Needs circulation on every side |
Straight run
Appliances and cabinets sit in one line, usually against the house, a privacy wall or a retaining wall. It is the simplest plan to build, the easiest to run utilities to, and the most flexible in length. It also puts the cook beside the guests rather than behind a barrier. Designer Magnus Nilsson, quoted in Livingetc, notes that a straight run gives guests easier access to the grill, which suits a host who wants company while cooking.
The trade-off is counter space. Put the grill, sink and refrigerator in a single line and you can end up with very little landing room between them. Plan for a prep surface on at least one side of the grill, and keep the grill away from the end of the run so a hot pan has somewhere to go.
L-shaped
Two runs meet at a corner. This creates a natural work triangle between cooking, cold storage and cleanup, so the cook takes a step or two instead of walking the length of the patio. The short leg often becomes a bar or serving ledge with stools on the outside.
The same Livingetc piece points out that L- and U-shaped plans separate the cook from guests while counter seating keeps the conversation going. We find the L-shape the best fit for the typical backyard patio, because it works in a corner and leaves the rest of the slab open for a dining table.
U-shaped
Three sides surround an open center. A U can give two cooks their own work areas, with plenty of counter and storage. It is also the plan that eats the most patio. Allow enough room inside the U for two people to pass each other and open a refrigerator or drawer without bumping the grill. If the opening is too tight, a U feels like a hallway.
A U is a good choice when cooking is the main event: big family cookouts, game-day crowds, or a household where one person smokes meat while another handles sides.
Galley
Two parallel runs face each other with a walkway between them. This is less common outdoors, but it earns its place on covered porches and pool houses where posts and columns dictate where cabinets can go. The walkway needs to be wide enough for two people to work back to back, and the plan works best when the cook can reach both runs without crossing a seating area.
Island
A freestanding island lets the cook face the guests from every side. It is the most sociable plan and the most space-hungry, because people need to walk around all four sides. Islands also need utilities run to the middle of the patio, which means trenching through a finished slab if you add one later. Plan the island and its lines before the patio is poured, not after.
Choosing by space, not by photos
Online galleries show kitchens on patios that are twice the size of most. Before you pick a shape, measure. The advice in This Old House is to start with the available backyard, traffic flow and proximity to dining. We add one step: mark the footprint on the ground with spray paint or chalk, then stand in it with a plate and a pair of tongs.
A few rules of thumb from our crews:
- Narrow patio, under about two people wide of clear space: straight run against a wall.
- Medium patio with a table: L-shape tucked into a corner, with the table on the open side.
- Large patio with a defined cooking area: U-shape or island, with the dining area set apart.
- Covered porch or pool house: galley or straight run, shaped around the columns.
If your patio itself is the limit, see our patio size guide and our notes on patio size for dining. A kitchen that swallows the dining space leaves you with a nice grill and nowhere to sit.
Arranging the zones inside any layout
The National Kitchen & Bath Association’s guidance is that an outdoor kitchen should be designed as part of the larger patio or deck, with appliances placed so cooking does not conflict with other activities. NKBA says to weigh setting, size and function together. In practice that means thinking in zones.
Cooking zone
The grill, smoker, side burner or pizza oven live here. Keep it on the downwind side of the seating, away from the main walking path and out from under low roofs or branches. Leave counter space on both sides of the grill.
Prep and landing zone
This is the stretch of counter between the grill and the sink. It is the most-used surface in the kitchen and the one most often cut short. Give it more length than looks necessary.
Cold storage and cleanup
A refrigerator, drawer coolers and a sink should sit close together, but not so close to the grill that a guest grabbing a drink blocks the cook. If you plan a sink, the drain and water supply must be settled early. In Central Arkansas, where heavy summer storms are normal, make sure the slab drains away from the kitchen and the footings.
Serving and seating
This Old House’s designer Michael Glassman stresses counter space plus places for guests to sit or lean, because an outdoor kitchen is a social space as much as a cooking one. A raised bar ledge on the guest side gives people somewhere to put a drink and keeps them out of the cook’s way.
Clearances, fire safety and ventilation
This is where a good-looking plan fails. Grills have required distances to anything that can burn: wood framing, a pergola, vinyl siding, an overhang. The numbers vary by model, so the manual for your exact grill governs.
For a sense of scale, one manufacturer installation document filed with the city of Mercer Island, Washington, specifies for that model 12 inches of side clearance and 6¼ inches at the rear from combustible construction, and rules out use under unprotected combustible overhead surfaces. It also calls for a vent hood when the grill sits under combustible construction. That is one model in one city, not a universal rule, but it shows why you pick the grill first and finalize the layout second.
Practical consequences for your layout:
- Do not tuck a grill into a wood-framed corner or under a wood pergola without the manufacturer’s approval.
- Non-combustible surrounds, such as stone, block and masonry, are the usual answer when a grill sits close to a wall.
- Covered kitchens need a plan for smoke and heat, not just a roof.
- Keep the grill out of the main walking path and away from where children play.
Utilities and weather decide more than looks
Gas, electric, water and drainage are the hidden half of the layout. Every appliance you add is a line to run, and lines are cheapest to place before the base and slab are installed. A few questions to answer before you commit to a shape:
- Will the grill run on a natural gas line, or propane tanks that need a hidden storage bay?
- Where is the nearest electrical source, and are outdoor-rated, GFCI-protected outlets planned for the counter?
- Does the sink drain to a safe place, and does the slab slope away from the house?
- How much shade does the spot get in July afternoons?
Arkansas summers are hot and humid and winters bring freeze-thaw cycles, so materials matter too. We build counters on a compacted aggregate base with masonry or stone that handles freeze-thaw and moisture without swelling or rotting. NKBA’s advice to account for weather exposure and choose durable materials suited to the outdoors fits what we see on local jobs. Stone-built kitchens also pair well with an outdoor stone fireplace or a fire pit, which needs its own clear zone: our fire pit dimensions guide shows how much room to leave.
Permits and local rules
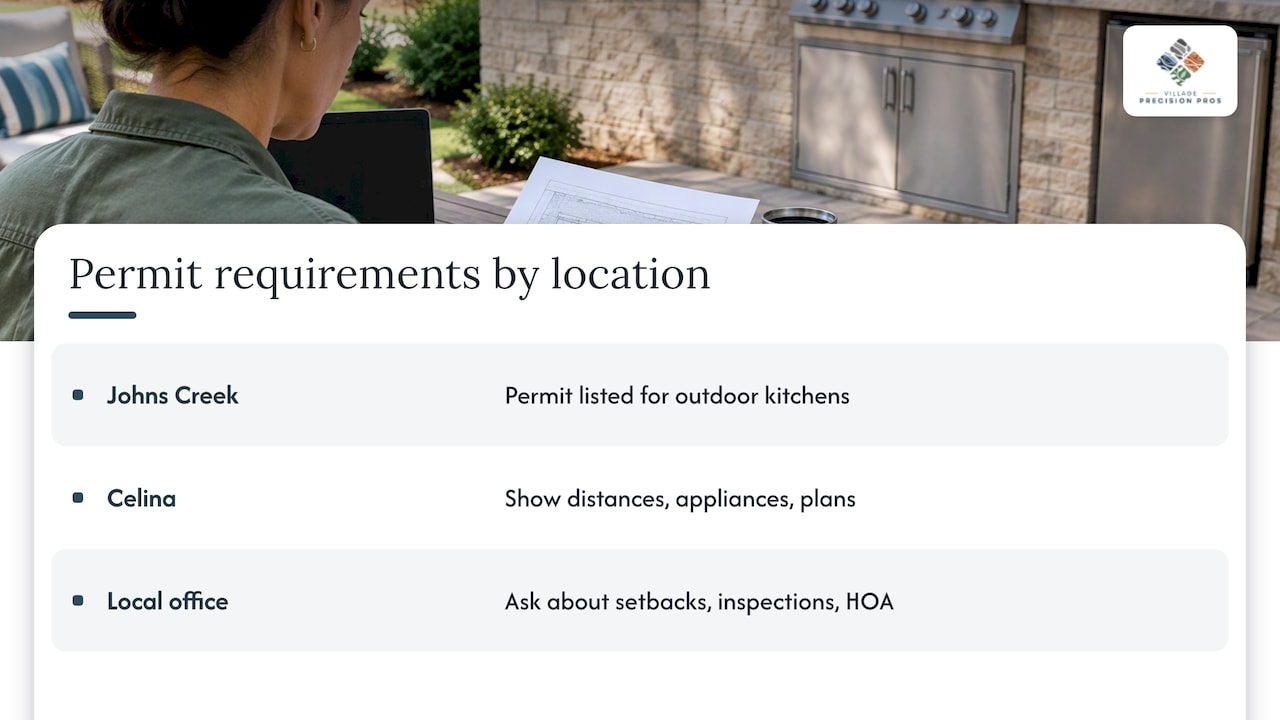
Rules vary by city and county, and a layout that ignores them can be forced to change after construction starts. Examples from other states show what officials look at. Johns Creek, Georgia, lists outdoor kitchens among work that needs a permit, along with gas piping, plumbing changes, new electrical circuits and grading. Celina, Texas, asks applicants for an outdoor kitchen to show property-line distances, appliance locations and electrical and plumbing plans, along with manufacturer specifications for gas cooking surfaces.
Those are not Arkansas rules. Call your city or county permitting office before you finalize a plan, and ask about setbacks from property lines, gas and electrical inspections and any homeowner association review. Our Arkansas outdoor kitchen guide goes into permits and what drives the total for local projects.
Layout mistakes we see most often
These come from our own jobs and from the common themes in designer advice such as the Livingetc layout mistakes piece, which frames the layout choice around how the host wants to socialize.
- Too little counter. The grill gets a prime spot and the cook has nowhere to set a plate.
- Cook cut off from guests, or guests in the cook’s way. Match the shape to your hosting style.
- Grill in the traffic path. People walking from the door to the yard should not pass within reach of a hot grill.
- Forgetting utilities. Adding a gas line or sink drain after the slab is done means cutting concrete or rerouting everything.
- Ignoring sun and wind. A kitchen that faces the afternoon sun or blows smoke into the dining area gets used less.
- Skipping the storage plan. Propane tank, trash, tools and cushions all need a home.
- Building the kitchen first and the patio second. The kitchen, slab, dining and seating should be planned as one space.
Our perspective
We have completed more than 2,000 projects across Central Arkansas since 2020, and the outdoor kitchens that last share a trait: the layout was settled around the ground, not the other way around. Drainage, grade and footings come first. If the patio sheds water badly or the ground settles, a beautiful kitchen will crack, tilt or flood. We would rather fix that first, which is why our work spans hardscape, drainage and even foundation leveling.
Our advice is to choose the simplest shape that gives you the counter space and seating you need. A well-built L-shape in durable stone often outperforms an overbuilt U that crowds the patio. Spend your attention on the base, the clearances and the work zones, then on finishes.
Ty
Plan your layout with us
If you are ready to turn a layout into a build, our crews handle the base, masonry, patio and surrounding hardscape as one project. See our outdoor kitchens and living spaces in Central Arkansas, or go straight to our hardscape and stone masonry service to start a conversation. We do not publish set rates, because the total depends on your design, materials and site.

If the kitchen will sit on a deck or on a new slab, our decks and patios page shows how we build the surface it stands on.
FAQ
What is the most popular outdoor kitchen layout?
The L-shape is the most common choice for typical residential patios, because it creates a compact work triangle and fits into a corner. Straight runs are popular on smaller patios. U-shapes and islands tend to appear on larger, more elaborate projects.
What is the best outdoor kitchen layout for a small patio?
A straight run along a wall is usually the best fit. It keeps the center of the patio open for a table and can be sized to the space. Put counter space on both sides of the grill, and keep the refrigerator at one end so it does not block the cook.
How much space does an outdoor kitchen need?
It depends on the shape and on your grill’s required clearances. Add walking room around the kitchen and a dining area beyond that. Islands need the most space because people must pass on every side. Always check the grill manual and mark the footprint on your patio before committing.
Do I need a permit to build an outdoor kitchen in Arkansas?
It depends on your city or county and on the work involved. Gas lines, new electrical circuits, plumbing and structures often trigger permits and inspections. Contact your local permitting office before design is final, and ask whether your neighborhood has additional review requirements.
Sources
- Key Strategies for Designing an Outdoor Oasis, NKBA
- A Comprehensive Guide to Building an Outdoor Kitchen, This Old House
- How to avoid the biggest outdoor kitchen layout mistakes, Livingetc
- Grill installation document, City of Mercer Island
- Do I Need A Permit?, Johns Creek
- Accessory Structure Plan Review Requirements, Celina, Texas