

The fastest way to deal with weeds between pavers is to pull them with the root, clean out the joint, and refill it with polymeric sand. Spraying or scalding only hits what you can see. Weeds return when the joints are loose, low or full of debris, so the lasting fix is in the joint, not on the leaf. Below you will find how to remove what is growing now, which quick fixes are worth your time, and how to redo the joints so the problem stays small.
TL;DR
- Pull weeds roots and all, ideally after the soil is damp, using a paving knife or a dandelion weeder.
- Boiling water, vinegar, salt and flame mostly burn the top growth. They carry safety and side-effect concerns near plants and stone.
- Full joints leave weed seeds little room to sprout. Polymeric sand is the usual joint filler for that job.
- If weeds keep coming back, the old joint sand has probably failed. Clean it out and install fresh polymeric sand.
- Plan on suppression, not a permanent guarantee. Seeds keep arriving on wind, birds and shoes.
Table of Contents
- Why weeds grow between pavers in the first place
- Step 1: Remove the weeds you have now
- Step 2: Know what the quick fixes do and do not do
- Step 3: Refill the joints with polymeric sand
- Step 4: Know when to redo the joints entirely
- Step 5: Keep weeds from coming back
- Perspective
- Let us handle the patio
- FAQ
- Sources
Why weeds grow between pavers in the first place
A paver joint is a narrow trench that catches seed, dust, leaf litter and a little moisture. That is all a weed needs. Over time, rain and sweeping wash joint sand downward, the gap opens, and organic debris settles on top. The debris breaks down into a thin layer of soil, and seeds root in it.
This is why Cornell’s turfgrass and landscape weed guidance puts prevention in the physical details: seal cracks, fill paver joints, sweep away soil and debris, and remove weeds before they set seed. The Concrete Masonry & Hardscapes Association makes the same point from the installer’s side: joints kept full of sand deprive weed seeds of places to sprout.
Two other things feed the problem:
- Water that sits. Ponding or an uneven patio keeps joints damp and moves sand around. Good Housekeeping notes that a patio with ponding may need to be lifted, rebuilt on properly compacted sublayers, and relaid with polymeric sand. Our guide to paver base depth explains what a stable base looks like.
- Shade and debris. Leaves, mulch and soil washing in from beds all build a seedbed. If mulch keeps migrating onto your paving, see our notes on mulch washout solutions.
Step 1: Remove the weeds you have now
Pulling is still the most reliable first move, and the only one that takes the root with it. Technique matters more than force.
- Dampen the soil. The Spruce and Cornell both advise moistening the ground first, especially for tap-rooted weeds. Roots slide out of damp soil instead of snapping.
- Cut along the joint. The Royal Horticultural Society suggests running a paving knife along the crack to sever roots, then using the hooked end to lever weeds out. A dandelion weeder handles deep taproots, and an angled wire brush clears moss, seedlings and debris.
- Pull the whole plant. The Spruce points out that hand-pulling works best when the entire plant and root come out. Leftover root fragments are what resprout a few weeks later.
- Clear the joint. Brush or vacuum out loose soil, seed and old sand so the next filler has clean material to bond with. The Spruce recommends vacuuming the crack after weed removal.
- Remove before seed heads form. Cornell stresses this timing. One flowering weed left alone can seed the whole patio.
Wear gloves and eye protection when you scrape and brush. Joint debris flicks up quickly.
Step 2: Know what the quick fixes do and do not do
Search results are crowded with kitchen-cabinet remedies. Some have a place for small weeds, but none repairs the joint. Here is how they compare.
| Method | What it does | Watch for |
|---|---|---|
| Hand pulling with a knife or weeder | Removes the root | Slow on large areas, needs damp soil |
| Boiling water | May kill very young weeds | Established weeds can regrow, and hot water can burn you (Good Housekeeping) |
| Vinegar | Burns what it touches | It is an herbicide, not automatically a safe remedy, and can harm worms or amphibians (Good Housekeeping) |
| Baking soda or salt | Can dry out small weeds | Non-selective, can harm nearby plants; frequent salt can weaken paving and discolor or erode natural stone (Martha Stewart) |
| Flame weeding | Works best on seedling broadleaf weeds | Not for use near flammable mulch, and generally only burns back the foliage of grasses and perennials (NC State Extension) |
| Steam or hot foam | Avoids the fire hazard | Uses roughly 60 gallons of water an hour, and accidental contact can cause severe burns (NC State Extension) |
| Pressure washing | Clears surface growth | May not reach roots, so it is not a long-term answer (Martha Stewart) |
A note on boiling water and vinegar
Both are popular because they feel harmless. They are not risk-free. Hot water splashes, and vinegar is a true herbicide that can drift onto lawn edges and beds. Better Homes & Gardens says vinegar and boiling water kill mainly what they touch, which is why roots often survive. If you use either, do it on a calm day, keep children and pets away, and spot-treat only.
A note on pressure washing
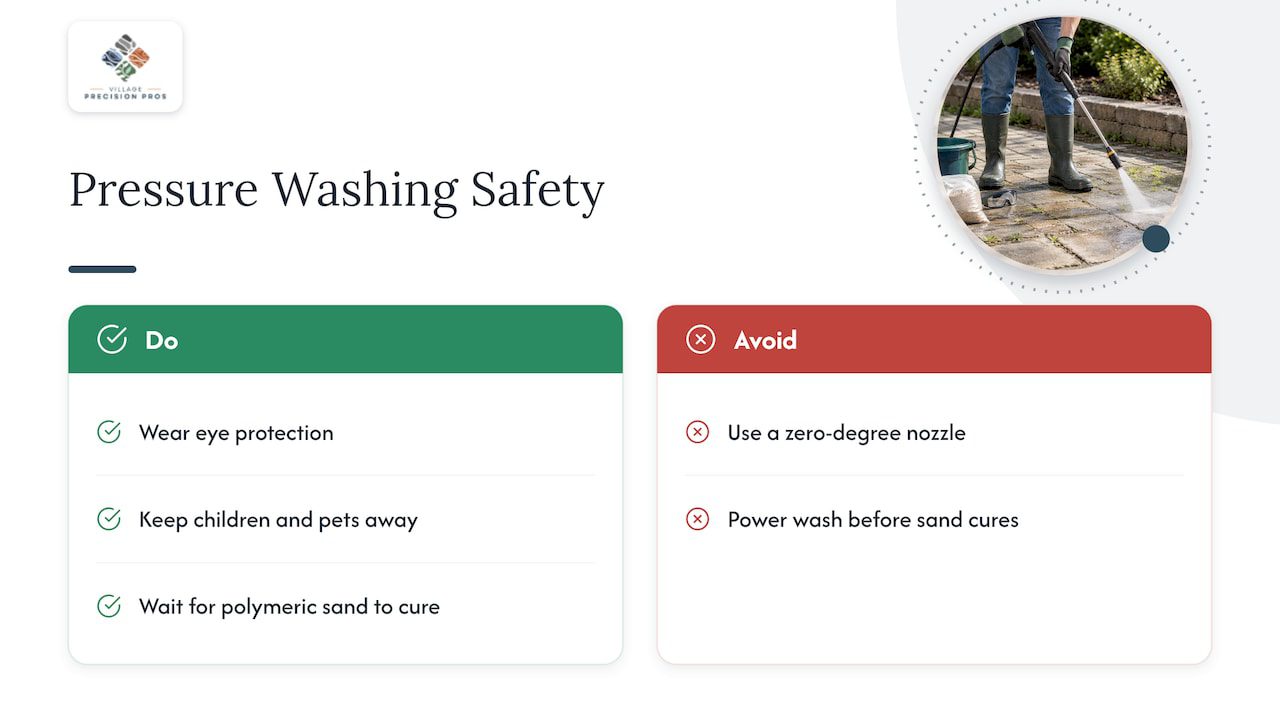
Pressure washing is where good pavers get hurt. Martha Stewart cautions that a zero-degree nozzle can damage concrete or blast out joint material, and recommends eye protection and keeping children and pets away. Blasting the joints empties them, and an empty joint is an invitation to the next round of weeds. If your pavers are already sanded with polymeric sand, wait for it to cure fully before any power washing. Gardening Know How advises avoiding power washing for at least several weeks after installation.
Step 3: Refill the joints with polymeric sand
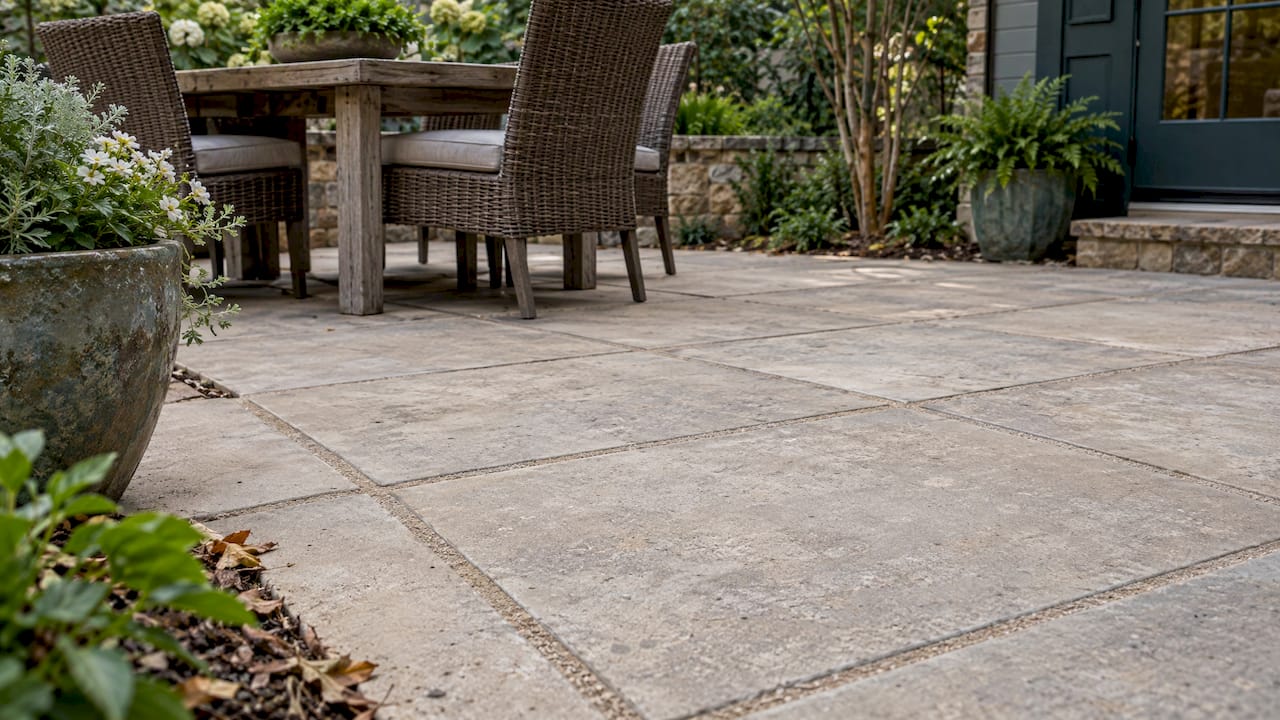
Once the joints are clean, what you put back decides how soon weeds return. Ordinary sand is easy to sweep in, but it washes and migrates. Polymeric sand is a blend of fine sand and binding agents that hardens when activated with water. Cornell describes it as a joint filler that becomes solid once activated, and the Concrete Masonry & Hardscapes Association notes it can create resistance against weeds and ants.
For a closer look at the trade-offs, read our comparison of polymeric sand vs. regular sand.
How to install it
The steps below follow Gardening Know How’s guidance on polymeric sand.
- Start with a completely dry surface. Damp pavers or joints can make the product activate early and haze the surface.
- Brush the sand into cleaned joints. Work it in until the joints are filled to the right level, which is typically just below the paver edge.
- Remove every grain from the paver faces. Sweep or blow excess off the surface before any water touches it. Sand left on top cures into a stain.
- Water gently. A fine mist activates the binder without washing it out of the joint.
- Let it cure. Keep traffic and power washing off it for the time the manufacturer lists. Gardening Know How says to avoid power washing for at least several weeks.
The most common failure is rain or sprinklers hitting the work too soon. We wrote up how to avoid that in our piece on the 24 hour dry rule for polymeric sand. Check the forecast before you start, and turn off irrigation zones that spray the patio.
How long it lasts
Gardening Know How’s cited guide says polymeric sand can bind joints and suppress weeds for up to 5 years. That is a ceiling that depends on installation, drainage and exposure, not a promise. Cracked or eroded hardened joints let weeds back in, so inspect them each season.
Step 4: Know when to redo the joints entirely
Spot repairs are fine when a few weeds show up in a tight patio. Redoing the joints is the better call when:
- Weeds return in the same joints within a season or two.
- Joint sand is visibly low, cracked or crumbling.
- Moss and soil have built up along the joint lines.
- Pavers have shifted, rocked or settled so water sits on the surface.
Good Housekeeping’s advice for persistent weeds is to remove the old joint sand and install fresh polymeric sand. Cleaning joints deeply means taking out old material to a workable depth, not just skimming the surface.
If pavers have settled, the cause is usually below them. Fresh joint sand over a failing base only buys a little time. That is a job for lifting, re-compacting the base and relaying, and it is the point where hiring a hardscape crew saves you doing the work twice.
Step 5: Keep weeds from coming back
Prevention is mostly a few small habits:
- Sweep regularly. Debris is the seedbed. Cornell and the Concrete Masonry & Hardscapes Association both list sweeping away soil and debris as a core step.
- Treat weeds early. A seedling pulls out in seconds. A mature weed with a taproot is a project.
- Inspect joints each season. Look for sand loss after heavy rain, and top up or repair before weeds find the gap.
- Watch the edges. Soil and mulch push in from the border. A solid restraint helps; see our overview of patio edging options.
- Fix water problems. Downspouts, grading and irrigation overspray keep joints wet. Our guide to landscape water drainage solutions covers common fixes.
- Clean your tools. Cornell recommends cleaning gardening tools between uses so you do not carry seed from one spot to another.
What goes under the pavers
If you are building or rebuilding a patio, the layer beneath matters too. Better Homes & Gardens notes that cardboard barriers break down within 1 to 2 years, while geotextile or weed-mat fabric is more durable when pavers are lifted and relaid. A fabric layer helps stop weeds coming up from below. It does nothing for seeds that land in the joints from above, so full, hardened joints remain the main defense.
Is permanent removal realistic?
Not reliably. Better Homes & Gardens points out that seeds keep arriving by wind, birds, shoes and clothing. The realistic goal is long-term suppression: root removal, well-filled joints, debris control and regular checks. A well-built, well-jointed patio should need little more than a seasonal look.
Perspective
Most of the weed calls we get are not really weed problems. They are joint problems. When a patio has been sanded once, rained on, swept hard and never looked at again, the sand thins out, and the weeds are simply the first visible sign.
Our crews approach it the way we approach any hardscape: start at the base. We look at how the pavers sit, where the water goes, how the edges hold, and what is in the joints. We believe a patio that drains properly and is jointed with the right material shrugs off weeds far better than one that gets sprayed every summer.
That is why we like polymeric sand for most paver surfaces, installed dry and cured properly, and why we pair it with sound edging and drainage. It is a quality-materials, careful-craftsmanship approach, and it gives you easy long-term upkeep instead of a recurring chore.
If your patio is only a few seasons old and weeds are already winning, tell us. Often the fix is a clean-out and re-joint. Sometimes it is a deeper repair, and we will say which one it is.
Ty
Let us handle the patio
If you would rather not spend a weekend on your knees with a paving knife, our crews in Central Arkansas clean out and re-joint pavers, repair settled areas, and build new patios and walkways with the joint and drainage details that keep weeds in check. See our hardscape and stone masonry services or look at finished work in our patios and pavers portfolio.

For properties that need steady attention through the year, our annual maintenance plans keep hardscape and landscape upkeep on a schedule. To talk through your patio, reach us through villageprecisionpros.com.
FAQ
What is the best way to get rid of weeds between pavers?
Pull them by hand with the root, working along the joint with a paving knife or dandelion weeder after the soil is damp. Then clean the joint and refill it with polymeric sand. Hand removal takes the root, which sprays and hot water usually do not.
What can you put between pavers to stop weeds?
Polymeric sand is the common choice. It is brushed into clean, dry joints and activated with a light misting of water, after which it hardens and leaves weed seeds little room to sprout. Regular sand is easier to place but tends to wash out and need frequent topping up.
Can I use vinegar or boiling water on weeds in my patio?
You can, but expect limited results. Both mainly burn the parts they touch, and established weeds can regrow. Vinegar is a herbicide that can harm worms, amphibians and neighboring plants, and boiling water can scald you. Pulling the weed is safer and more complete.
How often should I replace the joint sand?
There is no fixed date. Replace it when weeds keep returning or the sand has cracked, washed out or dropped well below the paver edges. Polymeric sand can last up to about 5 years under good conditions, so check the joints each season and redo them when they fail.
Can weeds between pavers be stopped for good?
Not with certainty, because seeds arrive on wind, birds and footwear. You can keep them to a minimum with full, hardened joints, regular sweeping, good drainage and quick removal of any seedlings. A sound base under the pavers keeps that work from being undone.
Sources
- Weeds on Hard Surfaces, Royal Horticultural Society
- Hard Surfaces, Turfgrass and Landscape Weed ID, Cornell
- How to Kill Weeds in Sidewalks, Driveways, and Patios, The Spruce
- How to Stop Weeds Between Pavers, Good Housekeeping
- Alternatives to Glyphosate for Weed Control in Landscapes, NC State Extension
- How to Keep Weeds From Growing Between Pavers, Martha Stewart
- How to Remove Weeds From Driveway and Sidewalk Cracks, Martha Stewart
- How to get rid of weeds between pavers permanently, Better Homes & Gardens
- Hardscaping for All Seasons, Concrete Masonry & Hardscapes Association
- Keep Weeds from Growing Between Pavers, Gardening Know How