
Choose polymeric sand for driveways, pool decks, and high-traffic patios where weed control and joint stability matter, especially with joints under half an inch. Choose regular sand for temporary installs, DIY budgets, or projects where you’d rather sweep in a refill each spring than risk a botched activation. The material itself rarely fails on its own; installation timing and site drainage decide the outcome far more often than the bag you buy.
TL;DR:
- Polymeric sand provides superior weed control and joint stability, especially in joints under half an inch, but requires precise installation in suitable weather conditions.
- Regular sand is more forgiving during installation, needs annual topping-ups, and costs less initially, making it ideal for temporary or low-traffic projects.
- Installation mistakes such as poor base compaction, inadequate drainage, or activating the product in unsuitable weather are the main causes of failure, regardless of which sand type is used.
- Proper site assessment, including drainage and base stability, is crucial before choosing between polymeric and regular sand, as neither can overcome underlying site issues.
- For wet or high-runoff areas, specialized joint compounds or permeable systems outperform standard polymeric sand to withstand constant moisture and freeze-thaw cycles.
Table of Contents
- Polymeric Sand vs Regular Sand: What Each Material Actually Does
- The Real Tradeoffs: Benefits and Drawbacks of Each Sand
- What Polymeric Sand and Regular Sand Actually Cost Over Time
- How to Install Polymeric Sand and Regular Sand the Right Way
- Keeping Your Joints in Good Shape: Maintenance and Repair
- Why Climate and Drainage Change the Right Choice
- What Years of Installs Have Taught Us About Sand Choices
- Why Getting the Basics Right Matters More Than the Product You Choose
- Get a Professional Opinion Before You Commit to a Sand Type
- Manufacturer Guides Worth Reading Before You Buy
- Sources
- FAQ
Polymeric Sand vs Regular Sand: What Each Material Actually Does
The two products look nearly identical in the bag and behave nothing alike once they hit the joint. That difference is the whole story behind this comparison.
Polymeric sand is graded sand blended with polymer binders that activate when you wet them, curing into a semi-rigid joint that resists washout and weed growth. Once cured, it behaves less like sand and more like a flexible mortar. Water beads and sheets off the surface instead of soaking straight down between the pavers, which is exactly why it holds up so well under wheel traffic and pressure washing. Manufacturer lines like Techniseal’s polymeric joint compounds publish specific formulations for different joint widths and climates, and matching the product grade to your joint size matters more than most homeowners realize. A polymeric sand rated for narrow joints will underperform in a wide gap, and vice versa.
Regular sand, sometimes called sweeping sand or paver sand, is loose graded sand with no binder at all. It fills the joint, locks pavers together through friction and interlock, and stays exactly as forgiving as the day you swept it in. There’s no activation window to hit, no weather forecast to check, and no risk of a bad cure ruining a weekend of work. The tradeoff is that it moves. Rain, ants, foot traffic, and freeze-thaw cycles all work it loose over time, and it offers no resistance to weed seeds that land in the joint.
Here’s how those material differences play out on an actual patio:
- Washout resistance: Polymeric sand holds firm under moderate rain and hose spray; regular sand migrates and needs periodic topping off.
- Weed control: The cured polymer layer blocks most seed germination; regular sand offers essentially none.
- Aesthetics: Polymeric sand keeps a clean, consistent joint line for years; regular sand often shows dark streaks or unevenness as it settles.
- Repairability: Regular sand repairs in minutes with a bag and a broom; polymeric sand repairs require removing cured material before refilling, which is slower and messier.
Neither material is universally “better.” Polymeric sand solves problems regular sand can’t touch, but it demands a install window and weather cooperation that sweeping sand simply doesn’t need.
The Real Tradeoffs: Benefits and Drawbacks of Each Sand
Every homeowner comparing these two products is really weighing four things: stability, appearance, maintenance time, and tolerance for installation mistakes. Here’s how they stack up.
Polymeric sand benefits:
- Locks pavers in place, reducing shifting and edge creep over years of use.
- Suppresses weeds and ant tunneling far more effectively than loose sand.
- Keeps a uniform, finished look without regular re-sanding.
Polymeric sand drawbacks:
- Sensitive to installation timing. Rain within the cure window, or activation in temperatures below roughly 50°F, can weaken the cure or cause haze.
- Prone to a whitish residue or staining if excess water or leftover surface sand isn’t cleaned before activation.
- Harder to repair. A failed section usually means grinding out cured material rather than a quick top-off, which raises long-term maintenance cost when installation mistakes happen.
Regular sand benefits and drawbacks: It costs less, forgives sloppy technique, and repairs in the time it takes to grab a broom. It also washes out faster, needs annual or biannual topping, and does nothing to stop weeds from finding a foothold between your pavers.
Most polymeric sand failures homeowners blame on the product actually trace back to three mistakes: activating during unsuitable weather conditions such as too hot or too wet, applying excessive water causing binder washout, and neglecting proper base compaction which destabilizes the joint.
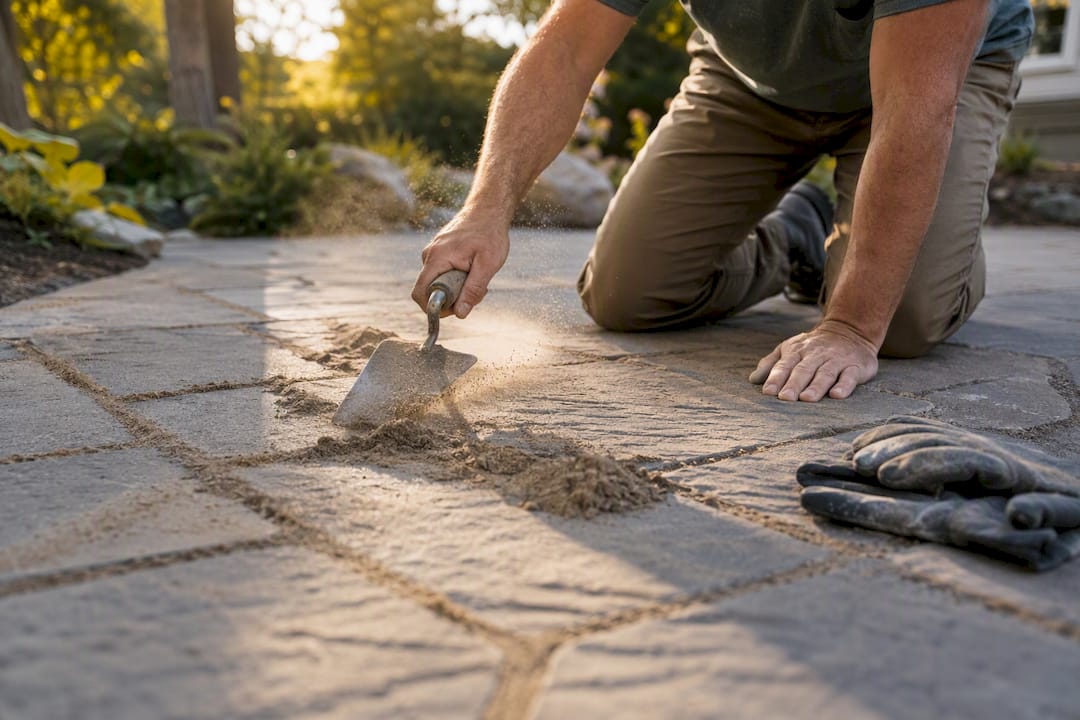
Pro Tip: Before you commit a full patio to polymeric sand, activate a small test section to check for surface hazing or a weak cure before treating the entire area.
What Polymeric Sand and Regular Sand Actually Cost Over Time
Sticker price tells you almost nothing here. Polymeric sand typically runs more per bag than plain sweeping sand, and if you’re hiring it done, labor climbs too since the installation requires more precise timing and weather conditions. But the real cost comparison isn’t the day-one bill. It’s what you spend over five or ten years.
- Material cost: Regular sand costs less per bag, but you’ll buy it repeatedly. Polymeric sand costs more upfront but you’re not restocking every season.
- Labor cost: DIY installation of regular sand is nearly foolproof; DIY polymeric sand carries real risk of a bad cure that costs you a redo.
- Maintenance cost: Regular sand needs re-sanding annually or every couple of years depending on traffic and rain. Polymeric sand, installed correctly, can go years without a top-off.
- Repair cost: A failed polymeric joint costs more to fix than a washed-out regular joint, since removal takes more labor than simply sweeping in fresh material.
Cost tips toward regular sand for temporary installs, low-traffic walkways, or tight DIY budgets where a redo isn’t a big deal. It tips toward polymeric sand for driveways, pool surrounds, and large patios where you’d rather pay once and skip the annual maintenance weekend.
How to Install Polymeric Sand and Regular Sand the Right Way
Most joint failures aren’t a material problem. They’re a sequencing problem. Skip a step here and even the best bag of polymeric sand will crack, haze, or wash out within a season.
- Prep the base first. Confirm the compacted aggregate base is solid and edge restraints are in place before you touch the joints. Loose pavers or a spongy base will undermine any sand you use, polymeric or otherwise.
- Clean the joints completely. Sweep out debris, old sand, and dust. Any residue left on the paver surface during polymeric activation is what causes hazing.
- Fill and compact. Sweep sand into joints until they’re filled to about an eighth inch below the paver surface, then run a plate compactor over the surface to settle the material fully.
- Sweep off excess. Every grain of polymeric sand left on the paver face needs to come off with a leaf blower before you add water; leftover surface sand is the number one cause of visible haze.
- Activate with controlled misting. For polymeric sand, mist the joints (don’t flood them) in two or three passes, letting water soak in between each pass rather than pooling on the surface.
- Let it cure. Give the joints their full cure window, and avoid rain or heavy foot traffic during that time.
For regular sand, steps one through three are identical, but you skip activation entirely. Just compact, sweep off the excess, and you’re done.
Installers consistently trace failures back to the same handful of causes: installing outside the recommended weather window, skipping edge restraints, and rushing the cure. Manufacturer guidance recommends installing polymeric sand when temperatures will reliably stay above 50°F and rain isn’t expected for 24 to 48 hours after activation. If your weekend forecast doesn’t meet that bar, wait. If you’re staring down a large driveway, uneven base, or a slope that channels runoff straight through your joints, that’s your signal to call in a professional rather than gamble a full weekend on a redo.
Keeping Your Joints in Good Shape: Maintenance and Repair
Both sand types need attention, just on different schedules. Polymeric sand asks for less frequent work but a more careful touch when something goes wrong; regular sand asks for more frequent, low-stakes upkeep.
Walk your patio or driveway once each spring and look for three signs: washout (visible gaps or exposed base material), cracking along the joint line, or a chalky haze on the paver surface. Washout on regular sand just means it’s time to sweep in more. Washout on polymeric sand usually points to a poor original cure or a drainage issue that needs addressing before you refill it.
- Pressure wash at low pressure and a wide fan tip; concentrated blasts can strip both sand types from the joint.
- Avoid harsh acidic cleaners on polymeric sand, since some formulations can soften or discolor the cured binder.
- Spot repairs work fine for isolated washout; full re-sanding makes more sense once more than a quarter of the joints show wear.
- For polymeric sand, a failed section typically needs the old material scraped or vacuumed out before fresh sand goes in. That’s more labor than a simple top-off.
Pro Tip: If you see joints failing in the same low spot every year, the sand isn’t the problem. That’s a drainage issue, and no amount of re-sanding will fix it permanently.
Why Climate and Drainage Change the Right Choice
Polymeric sand performs best where water sheets off quickly and joints get a real chance to dry out between rain events. It performs worst on sites that stay saturated, whether from poor grading, shade that slows evaporation, or a naturally high water table. Persistent moisture keeps the polymer from curing fully and can cause the binder to break down over repeated freeze-thaw cycles, which is a major reason polymeric sand struggles in consistently humid, wet regions.
Steep slopes present a related problem. Heavy runoff during installation, or even months later during a storm, can wash uncured or improperly compacted joints out before the polymer has a chance to set. Freeze-thaw cycles compound the risk anywhere water gets trapped in a joint that isn’t draining properly, since repeated freezing expands trapped moisture and stresses the cured binder.
- Improve drainage and grading before you install; polymeric sand can’t compensate for water that has nowhere to go.
- On slopes or in pool areas prone to splash-out, wider joints with a specialized polyurethane binder sometimes outlast standard polymeric formulations.
- For chronically wet sites, permeable joint systems or specialized compounds like Techniseal’s Storm Joint formula are built specifically for higher water exposure.
What Years of Installs Have Taught Us About Sand Choices
Village Precision Pros has completed more than 2,000 projects across Central Arkansas, and the pattern behind failed joints repeats itself constantly: the sand was rarely the real problem. Most homeowner installs we get called to fix share the same two mistakes, a base that wasn’t compacted to spec and an activation done on a day too hot, too wet, or too rushed for a proper cure.
A professional site assessment changes the joint strategy more than most homeowners expect. We check drainage patterns, soil compaction, and joint width before recommending polymeric sand, regular sand, or a specialty compound for wet zones. On sites with poor natural drainage, we’ll often adjust grading first, since no sand product fixes a water problem underneath it.
Why Getting the Basics Right Matters More Than the Product You Choose
The debate over polymeric sand versus regular sand gets more attention than it deserves. Both materials work fine when installed correctly, and both fail for the same underlying reasons: a weak base, missing edge restraints, and installation timing that ignores the weather. Contractor experience backs this up directly. Edge restraints and base compaction shape long-term joint performance more than which sand you pour into the gaps.
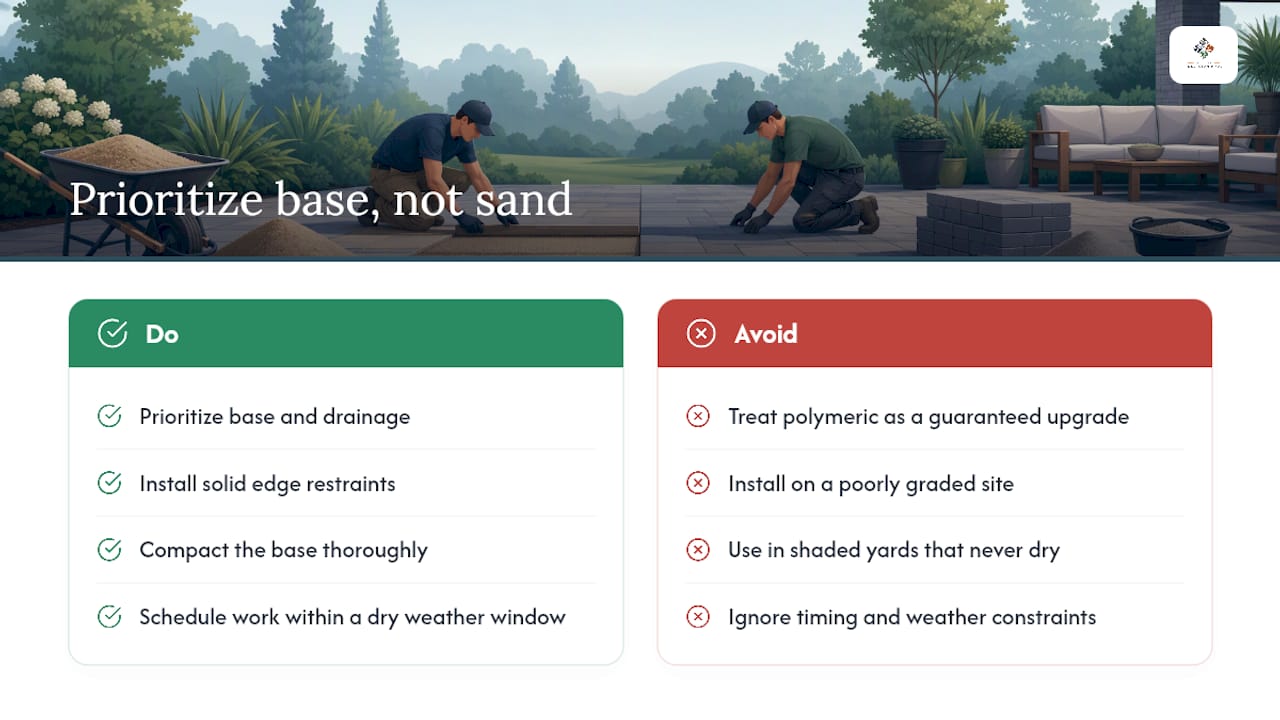
Where conventional advice falls short is treating polymeric sand like a guaranteed upgrade. It isn’t, not on a poorly graded site, not in a shaded yard that never fully dries, and not for a homeowner unwilling to work within a tight weather window. Regular sand isn’t a downgrade either; it’s the honest, lower-risk choice for plenty of projects.
If you take one thing from this guide, prioritize the base and the drainage plan before you ever choose a sand. Get those right, and either material will do its job for years.
Ty
Get a Professional Opinion Before You Commit to a Sand Type
Picking between polymeric sand and regular sand is only half the decision. The other half is whether your base, grading, and joint widths are actually set up to make that sand perform, and that’s the part most DIY guides skip entirely. Village Precision Pros builds that assessment into every consultation, so you’re not guessing which product fits your site.

A consultation includes a walk-through of your existing hardscape or planned project, a look at base compaction and drainage flow, and a straightforward estimate for whichever jointing approach fits your site, whether that’s polymeric sand, a specialty wet-climate compound, or a full base rebuild if that’s what’s actually needed. You’ll also get a clear look at our process through our working process overview, so you know what to expect before crews ever show up. If your patio, driveway, or pool deck keeps losing joint sand no matter what you pour in, schedule a landscaping consultation and get a plan built around your actual site conditions.
Manufacturer Guides Worth Reading Before You Buy
Before purchasing either product, review the manufacturer’s own application instructions for existing patios and check product-specific formulations for your joint width and climate. Cure times and activation rules vary by product, and skipping that page is where most DIY installs go wrong.
Sources
- Applying Polymeric Sand to an Existing Patio or Walkway
- Noco polymeric joint product (Techniseal)
- Downsides of Polymeric Sand for Paver Projects: Floor Chem Depot
- How do I stop polymeric sand from cracking or washing out after winter: The Ultimate Deck Shop
FAQ
Should I use polymeric sand or regular sand?
Use polymeric sand for driveways, pool decks, and joints under half an inch where weed control and joint stability matter most. Use regular sand for temporary projects, tight budgets, or sites where easy DIY repairs matter more than long-term stability.
What are the disadvantages of polymeric sand?
Its main drawbacks are sensitivity to installation weather, the risk of staining or hazing from leftover surface sand, and harder, more expensive repairs when a section fails compared to simply sweeping in more regular sand.
Why is polymeric sand not used in some persistently wet climates?
Constant moisture keeps the polymer binder from curing fully and stresses the joint through repeated freeze-thaw cycles, which is why polymeric sand underperforms in humid, wet regions unless drainage is addressed first.
Is there anything better than polymeric sand for problem sites?
For chronically wet or high-runoff sites, specialized compounds like polyurethane joint binders or storm-rated polymeric formulas often outperform standard polymeric sand.
What causes most polymeric sand installation failures?
Poor base compaction, missing edge restraints, and activating in the wrong weather window cause the majority of failures, not the sand itself, according to contractor-documented installation practices.