


Most flickering landscape lights point to a wiring connection, a voltage drop, a failing transformer or driver, or a mismatch between an LED driver and a dimmer, not a dying bulb. Before any deeper work, check for warm covers, a burning smell, or buzzing, then test a single fixture in place. If any warning sign shows up, stop and call a licensed electrician rather than continuing on your own, in line with electrical safety recommendations.
TL;DR:
- Record whether flicker affects the whole system, one zone, or a single fixture, then swap in a known good lamp to localize the fault.
- Measure voltage with fixtures on at the transformer and farthest light; far end flicker often calls for shorter runs or heavier gauge wire.
- Low wattage LEDs may fall below a two wire dimmer’s minimum current, so check compatibility or test a mockup across the full dimming range.
- Warm or hot covers, burning smells, buzzing, or systemwide flicker that starts suddenly warrant shutting off transformer power and calling a licensed electrician.
Table of Contents
- Fast Diagnostic Checklist You Can Run in 10 to 30 Minutes
- Common Causes of Flicker and Straightforward Fixes
- A Safe, Ordered Troubleshooting Workflow
- Why LED Drivers and Dimmers Often Cause Flicker
- Safety Red Flags and When to Call an Electrician
- What a Contractor Sees in the Field
- What Homeowners Get Wrong About Flicker
- Let Our Crews Diagnose Your Landscape Lighting Properly
- FAQ
- Sources
Fast Diagnostic Checklist You Can Run in 10 to 30 Minutes
Before swapping parts, spend a few minutes narrowing down where the problem actually lives. This approach catches common culprits without any specialized equipment.
- Define the scope: note whether the flicker affects the whole system, one zone, or a single fixture.
- Check the transformer: confirm the power indicator is lit and the terminal block connections are snug.
- Inspect wiring and fixtures: look for cracked insulation, green or white corrosion on connectors, and burned or discolored contacts.
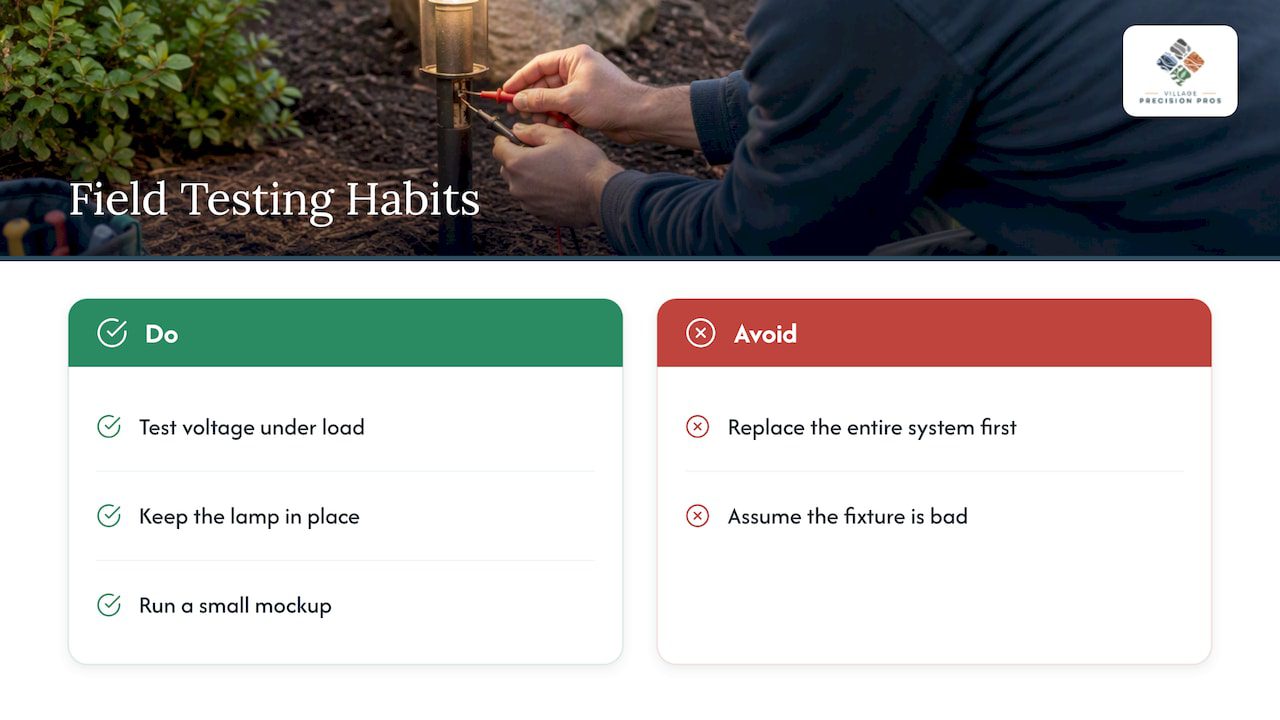
- Measure voltage under load: test with the lamp or fixture in place rather than removed, since testing with the lamp removed produces misleading readings.
- Swap a lamp or fixture: move a known-good lamp into the suspect fixture to see if the flicker follows the part or stays with the location.
Pro Tip: Write down which fixtures flicker and when (dusk, after rain, randomly at night). That pattern often points straight to voltage drop, moisture intrusion, or a timer issue before you even pick up a tool.
Common Causes of Flicker and Straightforward Fixes
Once you know where the flicker shows up, matching the symptom to the cause keeps you from replacing parts that were never the problem.
- Loose or corroded connections: flicker that worsens when you tap a fixture or wire run usually means a loose wire nut or a corroded quick-connector; reterminate with fresh, weatherproof connectors rated for direct burial.
- Voltage drop on long low-voltage runs: fixtures at the far end of a run dimming or flickering while nearby fixtures stay steady suggests the wire gauge is too thin for the run length; shortening the run or moving to a heavier gauge wire addresses this more reliably than adding fixtures to the same line.
- Transformer or driver problems: a transformer that feels hot to the touch, hums loudly, or has been in service for many years is a common source of unstable output and may be nearing replacement.
- Fixture and lamp issues: corroded sockets, dirty lenses, or a failing LED lamp often cause flicker isolated to one or two fixtures, and a lamp swap usually confirms it fast.
- Control incompatibility: flicker that lines up with a timer or dimmer switching on and off points to the control device rather than the wiring.
Pro Tip: If flicker is confined to one fixture, test it with a lamp you know works elsewhere. That single swap resolves more service calls than any other step.
A Safe, Ordered Troubleshooting Workflow
Working through checks in a set order keeps you from chasing symptoms and helps you document findings clearly if a professional visit becomes necessary.
- Determine scope: isolate each zone on the transformer to see whether flicker is system wide or localized.
- Test transformer output under load: measure voltage at the transformer and again at the farthest fixture on the run, with fixtures in place, since manufacturer guidance recommends testing under normal operating load to capture true voltage drop.
- Resecure terminal connections: retighten the terminal block and any wire nuts, testing after each adjustment so you know which fix worked.
- Isolate with swaps: exchange fixtures or lamps between locations, and test any dimmer or timer last, after wiring and transformer checks are clear.
Statistic Callout: Manufacturer troubleshooting guidance confirms that removing a lamp before measuring voltage changes the load on the circuit and produces inaccurate voltage drop readings, which is why every measurement in this sequence happens with the fixture connected and operating.
A reading that drops significantly between the transformer and the farthest fixture points to voltage drop along the run. A transformer that reads unstable even under a light load points to the transformer itself. A reading that stays steady until a dimmer or timer is added points to the control device.
Why LED Drivers and Dimmers Often Cause Flicker
LED flicker is usually a driver or control compatibility issue rather than a failure of the LED chip itself. DOE and CALiPER testing on dimming performance shows that flicker and dimming behavior vary substantially depending on how the driver and dimmer interact, not on the LED element wearing out.
- Phase-cut dimmers, especially two-wire models, rely on a minimum current flow to power their internal electronics, and low-wattage LED loads can fall below that threshold.
- Swapping to a dimmer rated specifically for LED loads, or a three-wire control, often resolves erratic behavior that a standard dimmer cannot handle.
- Checking the driver and dimmer spec sheets before buying replacement parts prevents mismatches that cause flicker to return.
- Testing a small mockup of fixtures with the intended dimmer, across its full dimming range, before wiring an entire system is the approach CALiPER lab testing found most reliable for predicting real-world dimming behavior.
Flicker often worsens when LED lamps are dimmed, and performance varies widely between products, which is why mockup testing over the full dimming range is recommended before a full installation.
That testing approach matters more than brand loyalty when you are choosing new fixtures or a new dimmer. If you are planning a system from scratch, our landscape lighting design guidance covers how we approach mockups and fixture selection during a new install.
Safety Red Flags and When to Call an Electrician
Some flicker is a simple fix. Some is an early warning sign of a wiring fault that needs a licensed electrician, not another round of DIY testing.
- Warm or hot fixture covers, switches, or outlets.
- A burning smell near any fixture, junction box, or the transformer.
- Buzzing or humming from the transformer or wiring.
- Flicker that appears suddenly across the whole system rather than one zone.
These are the signs ESFI flags as warnings that the affected circuit should be shut off and inspected by a professional before further use. While you wait for a visit, turn off power at the transformer and avoid operating the affected zone. A licensed electrician will check panel and breaker conditions, GFCI response, ground faults, and any wiring concealed behind hardscaping or buried runs. Having your notes on which fixtures flicker and when speeds up that visit considerably.
What a Contractor Sees in the Field
Most of the flicker calls we handle trace back to a loose connector, a run that has outgrown its wire gauge, or a dimmer that was never rated for LED loads, not a bad fixture. Testing voltage under load, with the lamp in place, and running a small mockup before swapping an entire system are the two habits that keep us from replacing parts that were never the problem. We document voltage readings at each test point so a homeowner has a clear record if the issue ever resurfaces.
What Homeowners Get Wrong About Flicker
The common instinct is to replace the bulb first and the transformer second, when the data points the other way: driver and control compatibility cause far more flicker than a failing LED element ever does. Chasing fixture replacements before testing voltage under load wastes money and rarely fixes the root cause.
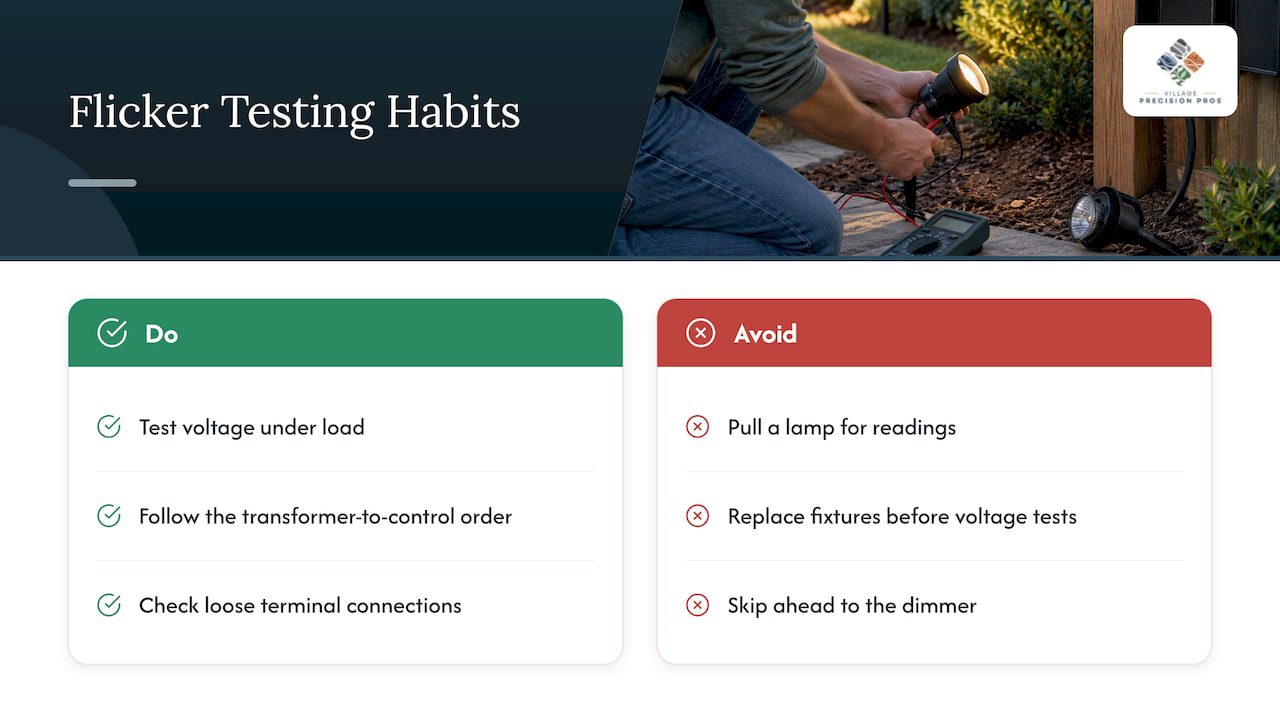
The bigger gap is in how people test. Pulling a lamp to get a clean multimeter reading feels thorough, but it changes the load and hands you a number that has nothing to do with how the circuit behaves when the lights are actually on. The habit worth building is testing under real operating conditions every time, and doing it in order: transformer, connections, fixture, control device, never skipping ahead because a dimmer looks like the obvious suspect.
If you take one thing from this: a loose terminal connection is cheap and quick to fix, and it is also the most overlooked cause of a problem homeowners assume needs a whole new system.
Ty
Let Our Crews Diagnose Your Landscape Lighting Properly
Chasing flicker through trial and error costs more time than a proper diagnostic visit. We test voltage under load at the transformer and at individual fixtures, check every connection along the run, and confirm driver and dimmer compatibility before recommending any replacement, so you are not paying for parts that were never the issue.

A typical visit includes:
- A full voltage check under load at the transformer and at the farthest fixtures on each zone.
- Inspection of terminal connections, wire condition, and fixture sockets for corrosion or damage.
- A compatibility check on any dimmer or timer tied to the system.
Our Landscape & Irrigation service covers lighting diagnostics and repair alongside irrigation and landscape electrical work across Central Arkansas, and our annual maintenance plans can fold in periodic lighting checks so flicker gets caught before it becomes a bigger repair.
FAQ
Is it safe to leave flickering lights on?
It depends on the cause. If the flicker comes with warm covers, buzzing, or a burning smell, ESFI recommends shutting off the circuit and calling an electrician rather than leaving it running. If none of those signs are present, a flickering zone can usually wait for a scheduled diagnostic.
Why are my outdoor landscape lights flickering?
The most common causes are loose or corroded wiring connections, voltage drop on long low-voltage runs, a failing transformer or driver, or a dimmer that is not rated for LED loads. A fixture or lamp issue, like a corroded socket, can also cause isolated flicker in a single light.
What causes 12 volt LED lights to flicker?
Flicker in LED systems is usually tied to the driver and its interaction with a dimmer or timer rather than the LED chip itself. DOE and CALiPER testing found that dimming performance varies widely depending on driver and dimmer compatibility, which is why mismatched controls are a frequent cause.
Can a bad ground make your lights flicker?
A faulty ground connection or a developing ground fault can cause unstable power delivery that shows up as flicker. If testing rules out voltage drop, loose connections, and control incompatibility, a licensed electrician should check for ground faults and concealed wiring issues as part of a full inspection.
Sources
- Home wiring safety tips | Electrical Safety Foundation International (ESFI)
- Dimming LEDs with Phase-Cut Dimmers: The Specifier’s Process for Maximizing Success, DOE GATEWAY / CALiPER
- Troubleshooting a landscape lighting system | Kichler Lighting